

 Using the 'DS graphic styles' you can apply a saved setting to a selected path.

![]()
This video takes 4 minutes.
Often the 'DS graphic styles' panel is underappreciated. It looks like a few simple tools you hardly need. The features in this panel are simple, but that’s the power of these pre-saved 'path appearances'. Read below why these 'DS graphic styles' are so important.
We strongly advice to install the DS Libraries, saving you lots of time. You can keep all DS libraries for all times, they work in all Ai versions and languages. Also, feel free to use the DS libraries in any company and also share them with your colleagues. At the bottom of this pages is a link to the page to download and install the 'DS Libraries'.

Often when using a standard Black, actually the Black is not 100% black. Using these Graphic Styles, the stroke color will be 100% black! Also the corner will have a Round Join and the edges will have Round Caps.
You can see this as a sort of 'home' button while you draw. For instance, when you are going to apply a stitching brush to a path, it would be a good idea to reset that path first using the 'Standard 1 pt' graphic style, making sure there is no unwanted white fill present anymore.

There are three ribs (single, double and tripple). They are created as a starting point for making a rib. It is inevitable that you have to make adjustments in the Stroke panel.

Quickly choose a two way Arrow path or one of the two single Arrow directions...

This Graphic Style applies a simple one side fold to the selected path. Perfect to to give technical drawings a vivid look.
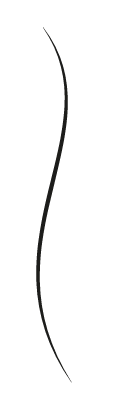
Another Graphic Style that applies a look to a path making your technical drawing vivid.

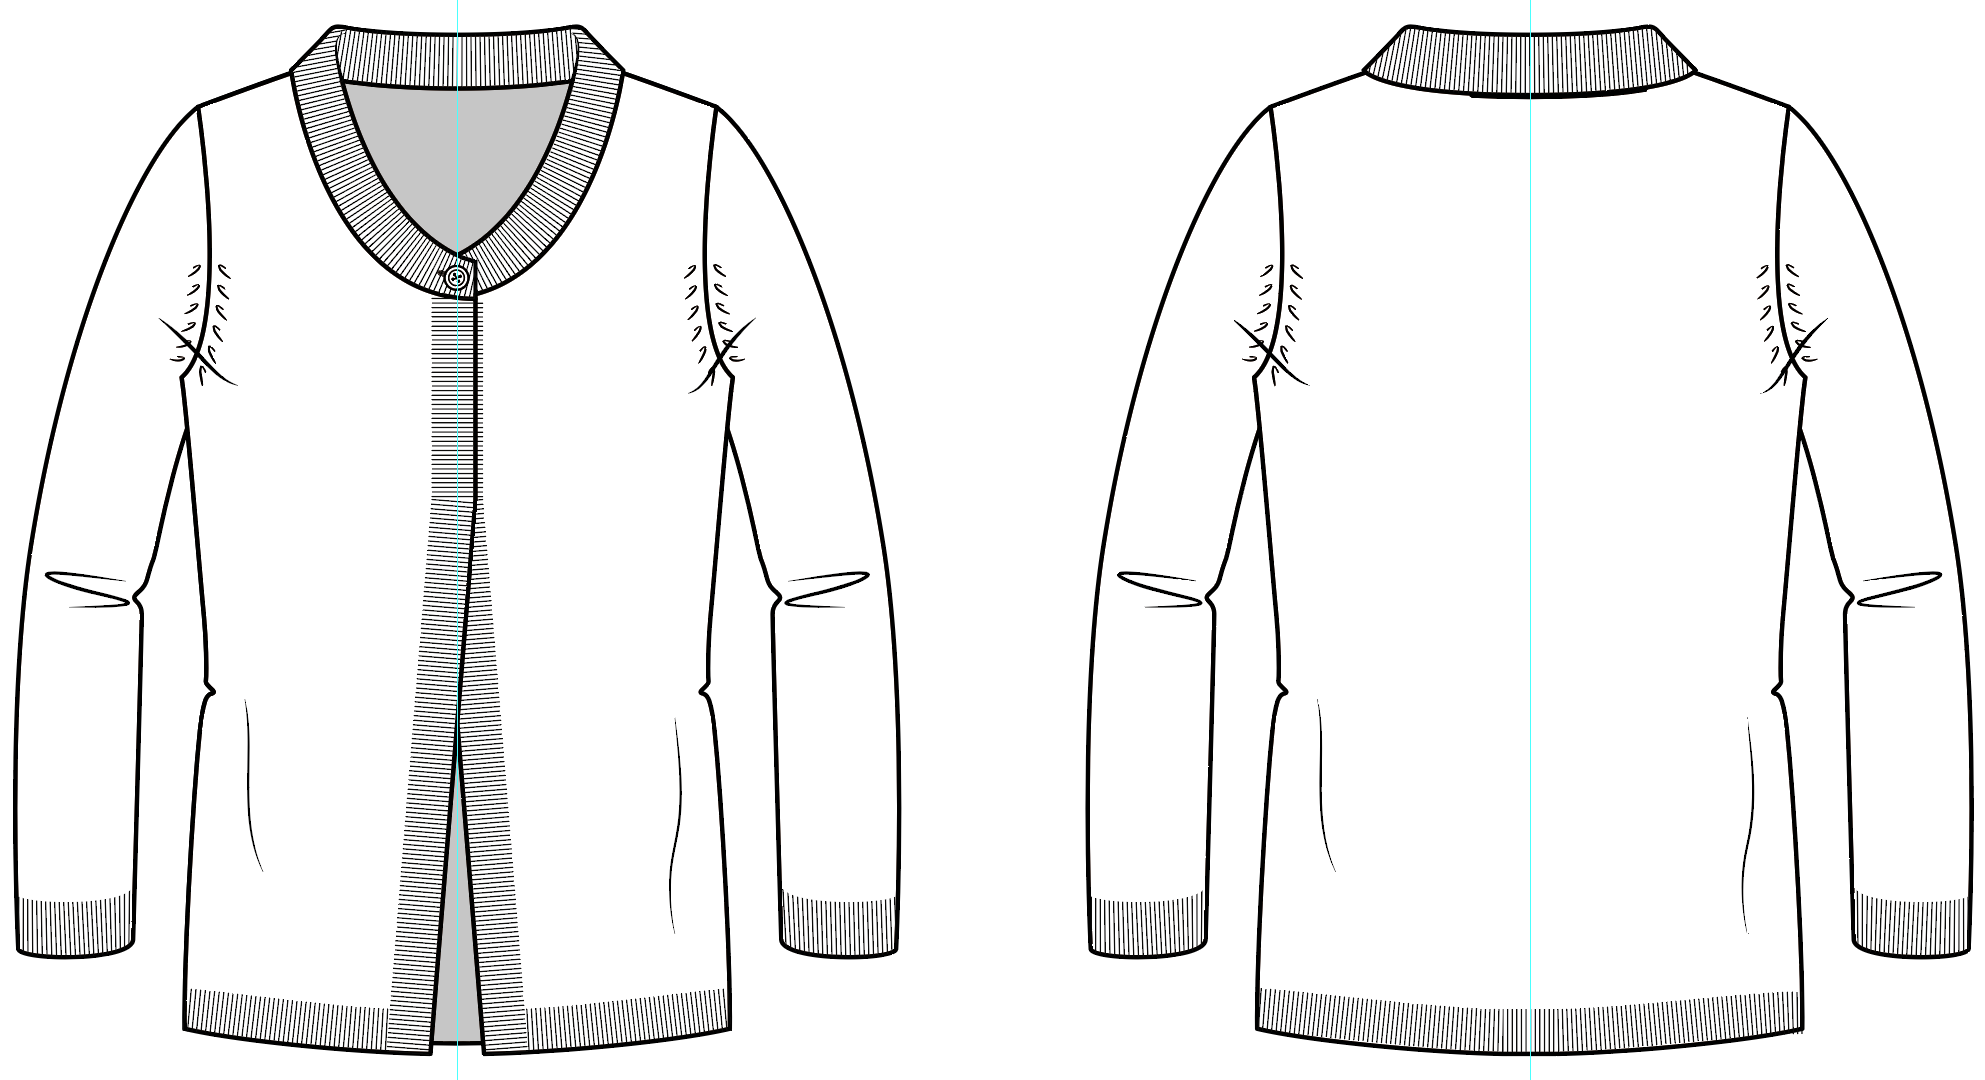
Step 1: Click on the yellow 'Ai' icon to open the exercise document in Illustrator.
 Step 2: Select the shirt.
Step 3: Press 'Ctrl-G' to group the selection.
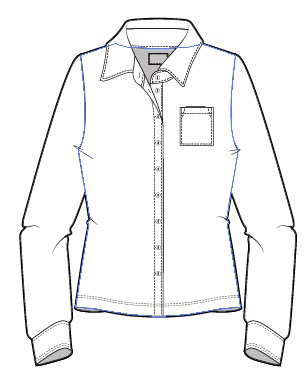
Step 4: Inside the panel 'DS graphic styles', click on 'Bold Outline'.

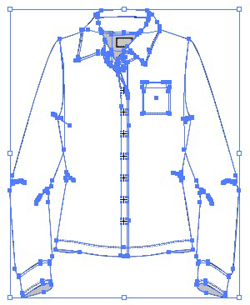
Select the garment, right click on it and choose ungroup (Ctrl-Shift-G).
You can find the download and installation instructions at the bottom at this page at 'DS Libraries and Tools INDEX'.
--------------------------------------------------------
Alle mogelijke instellingen die je op een pad toe kan passen, zoals de vulkleur, lijn kleur, lijn dikte, effecten kan je samen opslaan als één afbeelding stijl. Zodat je die later met een druk op de knop toe kan passen op een ander pad. Je kan complexe instellingen opslaan, maar ook een eenvoudige kan zeer nuttig zijn. Zoals bijv een simpele zwarte lijn met 1 punt dikte zonder vulkleur, maar dan met afgeronde hoeken en uiteinden. Wij hebben dergelijke instellingen voor u voorbereid die voor mode bijzonder van toepassing zijn.
Wij adviseren om alle DS bibliotheken te installeren. Je mag ze altijd blijven gebruiken, ze werken in alle versies en taal installaties van Illlustrator. Ook mag je ze onbeperkt meenemen naar andere werkgevers en delen met al je collega's. Onderaan deze pagina staat een link naar een pagina om de 'DS bibliotheken' te downloaden en te installeren.
![]()
Deze video duurt 4 minuten.
Vaak wordt de waarde van het deelvenster 'DS graphic styles' onderschat. Het ziet er uit als een aantal simpele tools die je nauwelijks nodig hebt. De functies in dit paneel zijn eenvoudig, maar dat is juist de kracht van deze vooringestelde 'pad opties'. Lees hieronder waarom deze 'DS graphic styles' zo waardevol zijn.
Vaak als je de 'Standaard' (zwart) gebruikt, is deze in werkelijkheid niet 100% zwart. Als je de 'Standard' uit DS graphic styles gebruikt, is de lijn wel 100% zwart. Ook zal de hoek afgerond zijn, net als de uiteinden van het pad.
Het is een soort 'home' knop tijdens het tekenen. Bijvoorbeeld, telkens voordat je aan een lijn een stiksel toekent heeft het zin om de lijn eerst met 'Standard 1 pt' te 'resetten'. Zodat je zeker weet dat er bijvoorbeeld geen onbedoelde witte vulling aan zit.
Er zijn drie rib opties (single, double en tripple). Deze zijn gemaakt als startpunt voor het maken van een rib. Het is hoogst waarschijnlijk dat je nog aanpassingen wilt maken in het deelvenster Lijn.
Kies snel en eenvoudig een dubbele pijl of één van de twee enkele pijlen...
Deze Graphic Style maakt een eenvoudige plooi aan één kant van het geselecteerde pad. Perfect om technische tekeningen een levendige look te geven.
Nog een Graphic Style die een levendige look geeft aan jouw technische tekening.
Stap 1: Klik op het gele 'Ai' icoon om het oefendocument in Illustrator te openen.
Stap 2: Selecteer het hele shirt.
Stap 3: Druk op 'Ctrl-G' om de selectie te groeperen.
Stap 4: Klik in het deelvenster 'DS graphic styles', op 'Bold Outline'.
Selecteer het kledingstuk, klik er met de rechter muisknop op en dé-groepeer (Ctrl-Shift-G).
De download en installatie instructies kan je vinden door hier onder op 'DS Libraries and Tools INDEX' te klikken.